How To Use The Snipping Tool For Mac
Macs are similar to Windows computers in many ways, but there are still some fundamental differences between the two operating systems that could confuse new Mac users. On Windows, there's a snipping tool app (typically represented by a pair of scissors), but Mac's snipping tool isn't packaged in a standalone app you can search for and click open.
While Windows has its own shortcuts to use the snipping tool, keyboard combos are the only way to access the snipping tool on macOS. So, if you want to take a full-screen screenshot on macOS, you'll have to hold Shift + Command + 3. If you're going to take a screenshot of a portion of the screen, you'll have to hold Shift + Command + 4, and you'll have to press Shift + Command + 5 to pull out the snipping tool panel. These features are important macOS tips new Mac owners should know.
Apart from MacBooks with a Touch Bar, this has been the only way to use the Mac's snipping tool since as far back as Mojave, at the very least. Keep reading to find out how to use the snipping tool for Mac.
How to use the snipping tool shortcuts on macOS
You've already seen what shortcuts you need to take a screenshot on a Mac. This explainer will give you further tips on how they work.
Shift + Command + 3: This will screenshot your entire screen. If you have one or more extra monitors rigged to your Mac, it will also grab a standalone screenshot of those screens and give them the same name (with a number identifier).
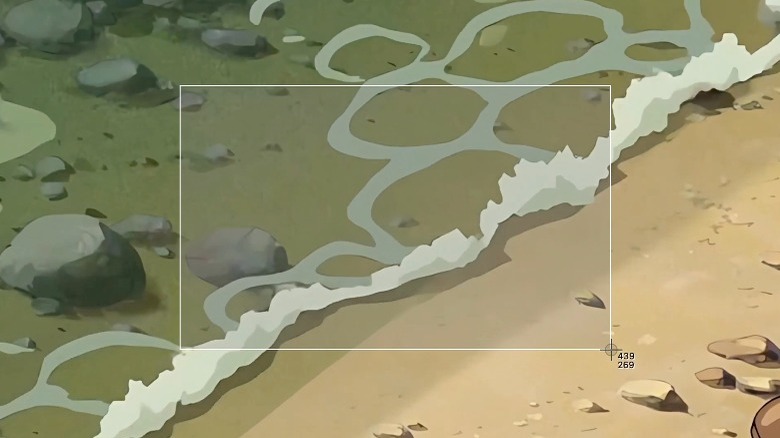
Shift + Command + 4: Your cursor will change into a cross shape once you hold this shortcut. As you move it around, you'll notice small numbers beside it; those represent coordinates and dimensions; you can use it as a guide for your shot. When you find what part you'd like to pull, click and drag the rectangle into the desired size. You can also drag the cursor into your other monitor screens to take a shot of all of them in one picture. As an additional tip, when you use this shortcut, you can press the spacebar to take a screenshot of a particular window or desktop. Your cursor will assume a camera icon; just click that camera on the window or desktop you'd like to grab.
By default, all of these screenshots will go straight to your desktop. So, if you're looking for them, check your desktop first. You can also easily delete poorly done screenshots by clicking the thumbnail when it appears and clicking the trash icon at the top of the preview window.
How to use the snipping tool panel on macOS
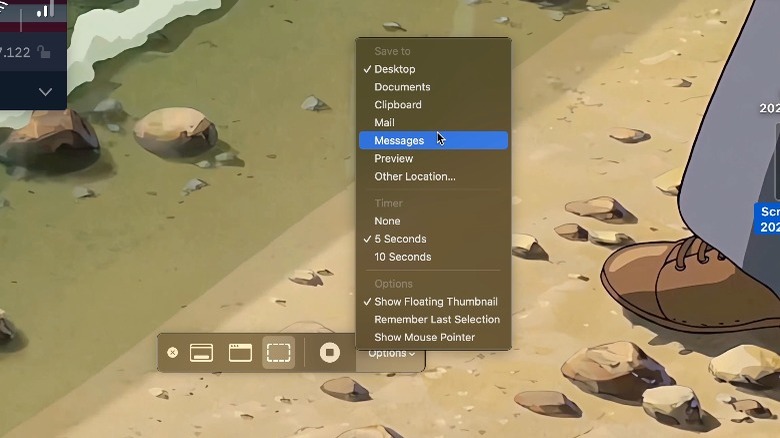
For those who need more control, there's a snipping tool app on macOS called Screenshot. Press Shift + Command + 5 on your keyboard to pull up the screenshot and screen recording panel. You can access all the screenshotting methods above with an additional timer feature. A timed screenshot could be useful for taking screenshots of subjects that may disappear when you press the keyboard buttons or move your mouse about. However, the maximum timer is 10 seconds.
You can also change where your screenshots are saved in this panel. They go to the desktop by default, but you can click "Options" here and choose where you would like them to save. This is useful if you dislike how screenshots can litter your desktop. Create a folder dedicated to screenshots, go to your screenshot options, select "Other Location...," and choose what folder you want your screenshots to save once you take it. Inside this Options menu, you can also toggle on the mouse pointer if you think your pointer is important for the screenshot you're taking.
How to use the MacBook Pro's Touch Bar to take screenshots
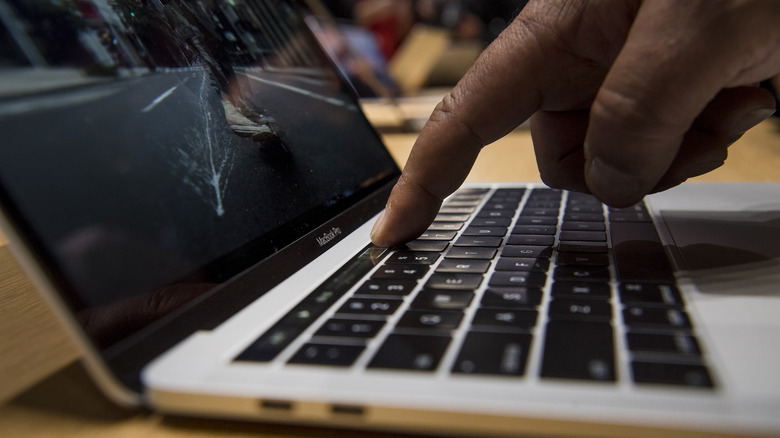
While the Touch Bar gets its fair share of hate as a gimmicky MacBook feature, it could be beneficial for shortcuts like this. You might have to edit your MacBook's Touch Bar Control Strip to allow for a screenshot shortcut. Once that's done, you can easily take a screenshot through the Touch Bar. Here's how to set that up:
- Click the Apple menu in the top-left corner of the menu bar and go to System Settings.
- Select Keyboard in the sidebar and choose "Touch Bar Settings" in this panel.
- Use the "Touch Bar shows" popup menu and choose the expanded Control Strip.
- Back at the System Settings Keyboard panel, click "Customize Control Strip."
- Drag the screenshot button to the Control Strip.
- Click "Done" to conclude.
When you tap the screenshot button, you'll see options to screenshot a selected portion, a window, or the entire screen. It also has the option to choose where exactly you want to save it, much like the Screenshot app offers in its Options menu.
Lastly, you can use the shortcut Shift + Command + 6 to take screenshots of the Touch Bar. It works exactly as an extra strip-shaped screen on your Mac, and whatever is on your Touch Bar will appear in the screenshot.


